Forge Welding at Home in the UK: Setup, Flux, and Safety Guide
Forge welding is where two pieces of metal are heated until plastic—just below melting—and then hammered together. It's fundamentally different from gas welding or arc welding, and if you're setting up a home forge in the UK, understanding the specific conditions and materials matters. Here's what you need to know before you light your first fire.
Why Forge Welding Demands Precision
The challenge with forge welding isn't skill alone; it's hitting exact conditions. If your metal is too cool, the pieces simply won't fuse—you'll hammer them into a loose joint that'll crack under stress. Too hot, and you'll burn the metal, creating weak, brittle grain boundaries. For most mild steel and iron, you're looking at a very narrow window: roughly 1200°C to 1300°C. At these temperatures, the metal glows orange-yellow and becomes plastic enough to bond when struck.
This temperature range is why forge type matters. Coal and coke forges can reach these temperatures reliably, but they require more skill to manage. Gas forges (propane-fired) are more controllable and popular for home setters because you can see the metal clearly and adjust heat on the fly. An oil-drum forge or simple coal forge will work, but expect a steeper learning curve.
Flux: Borax vs. Anhydrous Borax
Flux is non-negotiable for forge welding. It removes oxides (fire scale) from the metal surface and helps the two pieces bond. Without it, you're fighting an uphill battle.
Borax (common laundry powder) costs next to nothing and works, but it has a major drawback: it absorbs moisture from the air. This means it can spit and pop when heated, flinging hot flux onto your hands and face. Many home smiths use it anyway for the cost saving, but you'll need good eye protection.
Anhydrous borax (also called "dehydrated" borax) is borax that's had the water removed. It's more expensive—roughly £15–25 per kg from blacksmithing suppliers—but it doesn't absorb moisture and won't spit. For safety and predictability at home, it's worth the extra cost, especially when you're learning.
A third option is proprietary forge flux (brands like Tenacious, F3, or Olivine flux). These are engineered blends that often work better than raw borax, flow more reliably, and produce less smoke. They cost more, but if you're serious about clean, repeatable welds, they're worth trying after you've mastered the basics.
Application method: dissolve borax in a small amount of water to make a paste, then coat the heated joint just before welding. Work quickly—flux loses effectiveness once it's cooled.
Managing Fire Scale
Fire scale (iron oxide) forms instantly when hot metal touches air. If it's left on the joint, it creates a barrier that flux can't fully penetrate, and your weld will be weak. You've got three strategies:
Thick flux application is the simplest approach. Borax or proprietary flux melts and seals the surface, but it won't remove existing scale entirely.
Wire brushing before fluxing works well. Heat the joint, brush off loose scale quickly, apply flux, then get back in the fire. This is practical for smaller pieces.
Charcoal packing is the most thorough method. Pack powdered charcoal around the joint inside the forge—charcoal creates a reducing atmosphere that actively prevents scale formation. It's messier, but professional smiths use it for critical work.
At home, a combination usually works best: brush the joint, flux generously, keep the metal in the hottest part of the forge, and work quickly. Experience will tell you how much scale you can tolerate.
Ventilation and Safety
A forge fire produces carbon monoxide (from incomplete combustion of coal or propane) and smoke. Inadequate ventilation is a real risk in a home workshop.
Minimum setup: work outdoors or in a space with doors open and a clear path for smoke to escape. If you're indoors, a chimney hood or wall-mounted extractor directly above the forge is essential. Many home smiths position their forge under an open window with a simple sheet-metal hood to funnel smoke up and out.
Air quality: carbon monoxide is odourless and invisible. If you're forging indoors for more than an hour or two, install a battery-powered CO detector. £10–20, potentially lifesaving.
Burns and eye safety: forge welding involves radiating heat and bright light. Wear a leather apron, long sleeves (leather cuffs over the wrists), and proper tinted eye protection—shade 4–5 for gas forges, shade 2–3 for coal forges. Regular sunglasses aren't enough. Blistering from radiant heat is common in the first few weeks.
Keep a bucket of water nearby, but be aware that wet skin near a hot forge is dangerous—you risk steam burns. A first-aid kit is sensible.
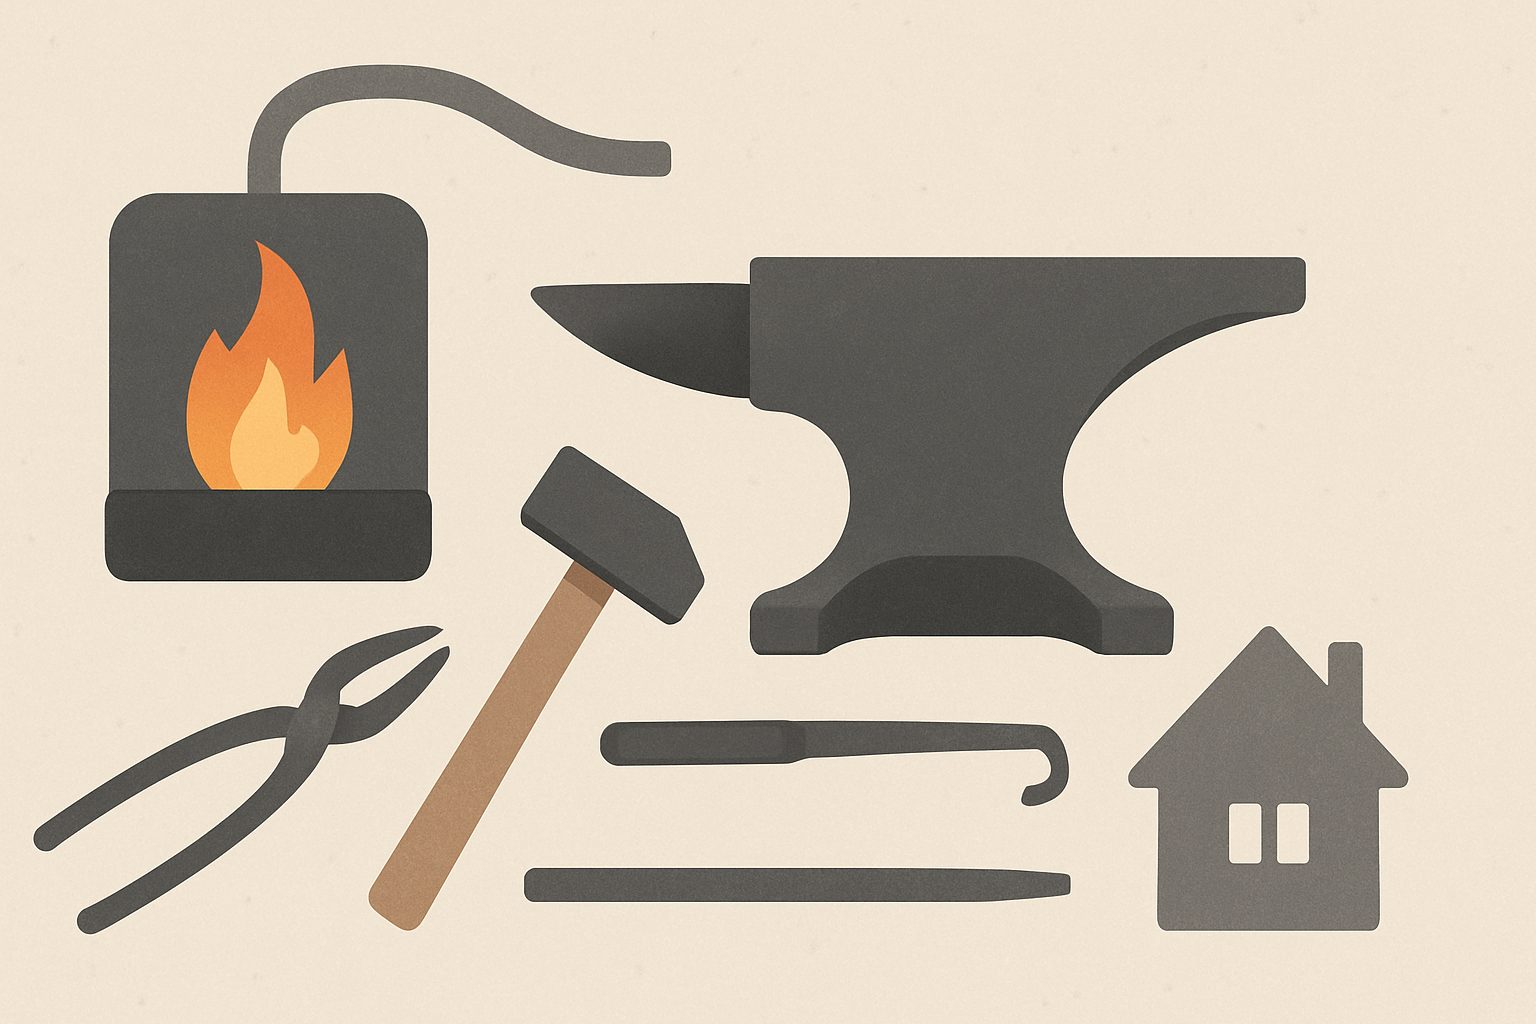
Starting Your Setup
A basic home forge needs:
- Heat source: coal, coke, or propane burner
- Fuel: if using solid fuel, sourcing it in the UK is increasingly difficult; propane is often simpler
- Working surface: anvil or heavy steel block
- Tools: hammer, tongs (crucial—never hold hot metal in your bare hands), flux, brush
- Ventilation: outdoor space or indoor hood
- Safety gear: leather apron, eye protection, gloves
Don't economise on tongs or eye protection. Poor tongs mean you'll fumble a hot joint and get burned. Poor eye protection damages your vision invisibly.
Forge welding has a real learning curve—expect your first welds to be weak, your timing to be off, and your joints to crack. That's normal. The skill develops over dozens of welds, not a few. But once you understand temperature, flux, and timing, you'll create joints that are as strong as the surrounding metal.
More options
- Devil Forge Propane Gas Forge (Single & Double Burner) (Amazon UK)
- Blacksmithing Anvil (Cast Steel, 55–110 lb) (Amazon UK)
- Ceramic Fibre Blanket Refractory Wool (Kaowool 2600) (Amazon UK)
- Blacksmithing Tongs and Hammer Starter Set (Amazon UK)
- Leather Blacksmith Apron and Welding Gloves PPE Bundle (Amazon UK)